I know I’m not alone in battling the wandering bite point on SRAM Maven brakes. I’ve had the same issue with many, many pairs now, and after trying a piston massage more times than I can count, cleaning the pistons, and bleeding them to the exact specifications as outlined by SRAM, the wander remains. But I think I found the solution, and I’ll tell you how to fix the issue yourself.
So far, this procedure has turned my experience with Mavens from terribly inconsistent to one of the better brakes I’ve ever used. In this article, I’ll tell you what you need and show you exactly how to fix the wandering bite point of SRAM Mavens in 6 steps. This process works for all SRAM Maven brakes with a wandering bite point problem.
Ale Di Lullo
What is the Wandering Bite Point?
Simply put, it’s when the lever pulls to the bar, and the brakes do nothing. It sucks, and it’s pretty common with SRAM Maven brakes, whether they’re ULT or Base models. The wandering bite point is persistent. But not all riders have experienced this, but those who have will know what I’m talking about.
Deven McCoy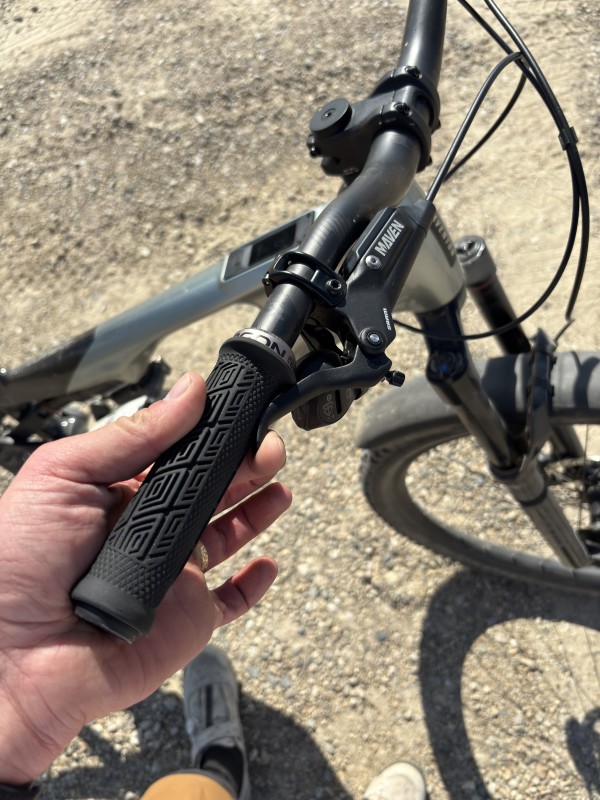
The feeling of pulling a handful of brake as you charge into a corner at too much speed, and the lever pulling right to the bar with no effect on the speed you’re carrying, is a sobering experience to say the least. This is a feeling that many riders have encountered with SRAM Mavens, and I think I’ve found the solution.
*Disclaimer*
The solution is to abandon the SRAM bleed procedure and do things a little differently. As this is NOT what SRAM recommends, it might void a warranty. So try this at your own risk.
What You’ll Need
Deven McCoy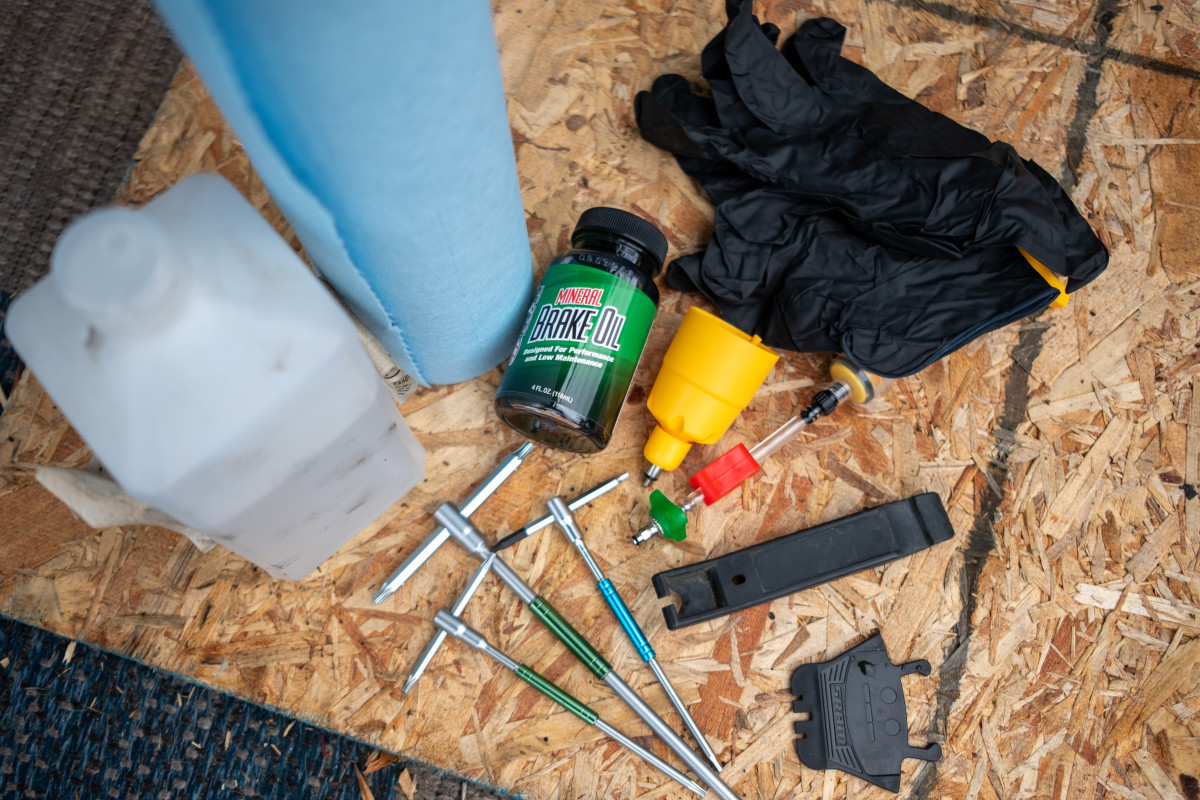
- SRAM Maven Bleeding Edge Syringe
- SRAM Compatible Bleed Cup
- Maxima Mineral Oil
- T10 Torx (Lever bleed port)
- T25 Torx (Lever clamp bolt)
- SRAM Maven Pad Spacer
- SRAM Maven Bleed Block
- Patience
- Shop towels and Isopropyl Alcohol (for clean up)
How To Fix Wandering Bite Point in 6 Steps
To be clear, when SRAM Mavens work, they work phenomenally, but when they don’t work, they go from being one of the most powerful brakes on the market to being a barely functioning brake. I want to love them, and in order to do that, I need them to be consistent.
After struggling with all the solutions I could find, I ended up going rogue and putting together my own bleed procedure, borrowing techniques from other mineral-oil brakes on the market, and finding a way to “over-pressurize” the SRAM Mavens to get a consistent bite point and a wonderful lever feel. So far, this trick has solved the issue of wandering bite point and made the Mavens the brakes that I always wanted them to be.
Step 1
Fill the bleeding-edge syringe about halfway full of mineral oil and click it into the bleeding-edge port on the caliper. When opening the bleeding edge port with the syringe, pull the plunger to suck any air that might be trapped in the caliper as you depressurize the system.
Deven McCoy
After the bleeding-edge port is open and the air has been purged into the syringe, the system is depressurized. At this point, move up to the lever and make sure it is level with the ground, and not tilted, as SRAM recommends in their bleed procedure.
Deven McCoy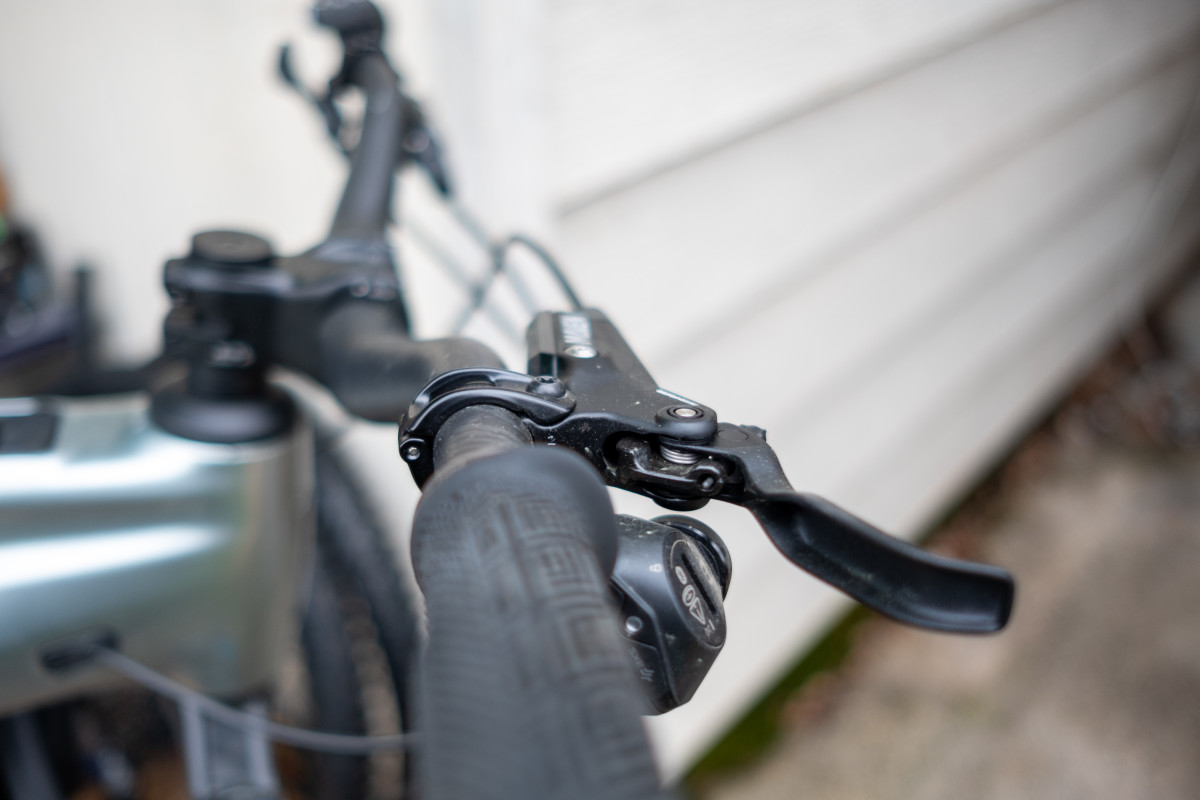
Step 2
This is where things get a little wacky. Instead of a syringe at the lever, use a bleed cup as you would with a Shimano brake bleed. Open the T10 bolt at the lever bleed port and fill the bleed cup about halfway with mineral oil with the plunger installed. After the oil is in the cup, remove the plunger.
Deven McCoy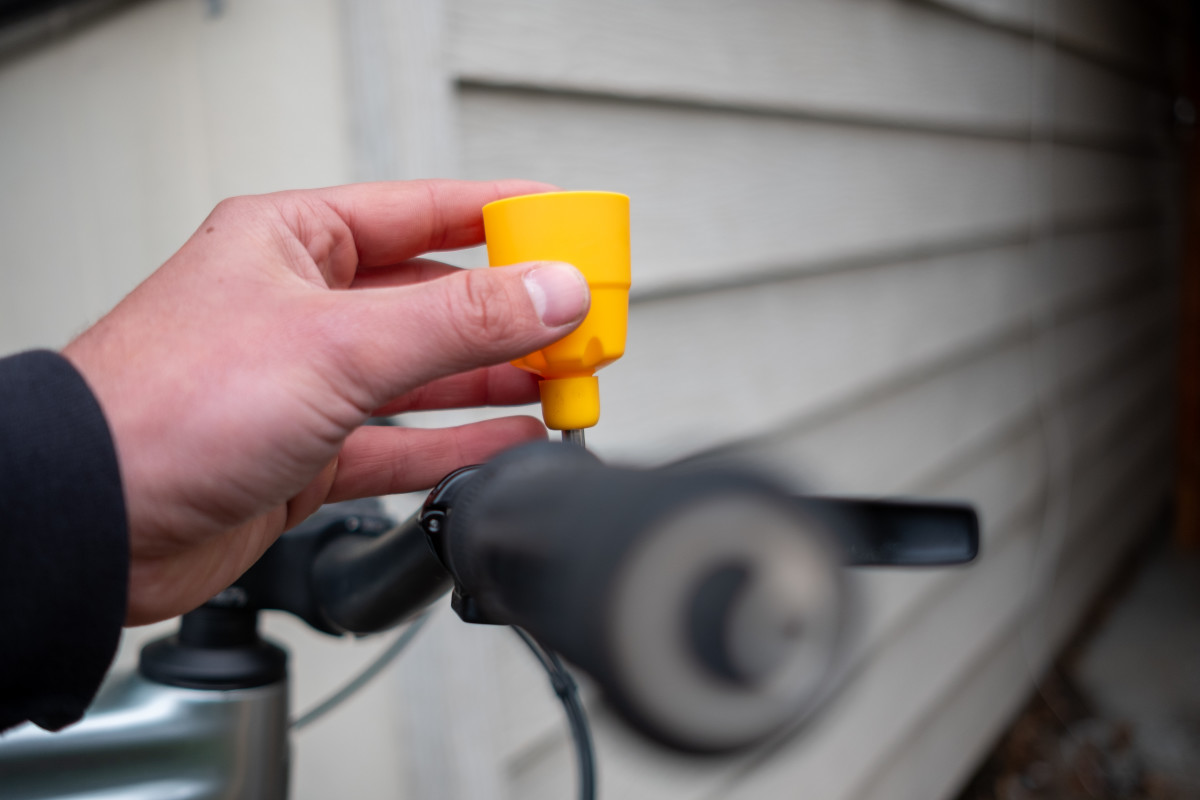
With the bleed cup in the lever, you can now remove the brake pads to expose the pistons. With the pads out, push the pistons back while the system is depressurized. You should see fluid and small air bubbles entering the syringe as you massage the pistons into the caliper.
Step 3
Once the pistons are massaged, install the bleed block into the caliper and ensure the lever reach position is all the way out, and the bite point is also all the way out. If your levers don’t have a contact adjust dial, don’t worry about it. Just make sure everything is all the way out.
SRAM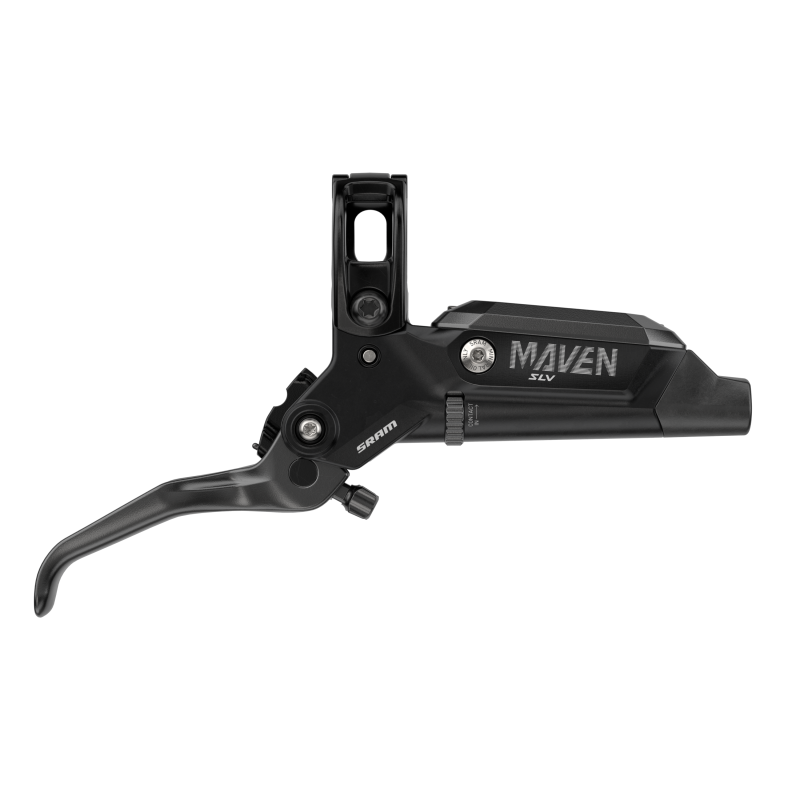
Yes, I know this goes against the very specific instructions that SRAM outlines, but trust me. It’ll work out.
Step 4
Once everything is where it needs to be, start cycling fluid through with the bleeding-edge syringe by pushing and pulling fluid into the system. And this next part is important. Cycle the fluid until there are no more air bubbles coming out of the bleed cup or syringe – this can take quite a few cycles. To help knock these bubbles loose, tap the calipers and hoses and give them a jiggle from time to time.
Step 5
When there are no more bubbles in the system, remove the bleed block from the caliper and reinstall the pads. Be very careful not to get any mineral oil on the pads. Once the pads are back in the caliper, you can plug the bleed cup with the plunger, remove it from the lever, and reseal with the bleed port screw.
Deven McCoy
Step 6
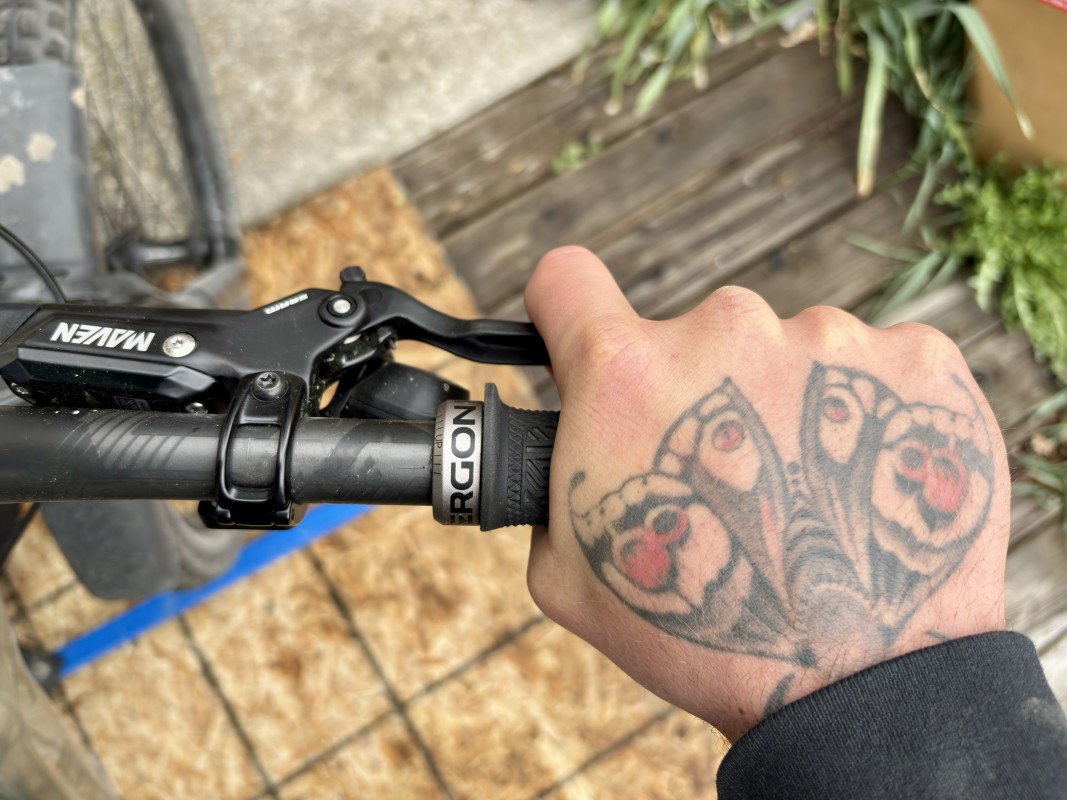
Now that the pads are back in, get a pad spacer for SRAM Maven brakes, and insert it between the pads (where the rotor goes). Once the spacer is in place, start moving the lever to advance the pads towards the spacer, while also slightly pressurizing the bleeding-edge syringe.
This will repressurize the system. Here’s the secret sauce – while closing the bleeding edge, apply a fair amount of pressure to the syringe to over-pressurize the system.
Deven McCoy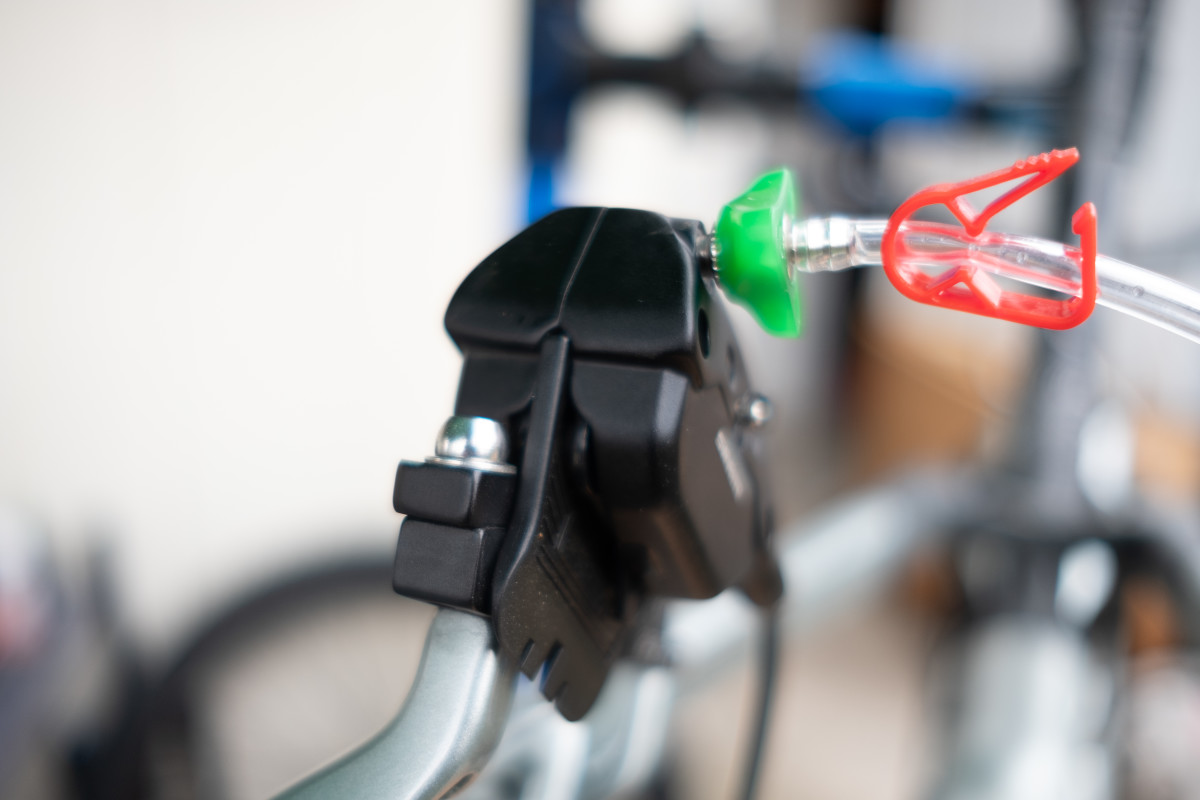
Once done, the lever will have a supple off-the-top stroke with a definitive bite point, and the wandering lever pull will be eradicated, and you’ll probably start loving how these absurdly powerful brakes feel.
Deven McCoy